A brake only works at the moment power drops, so wear and supply problems stay invisible until a vertical axis creeps down. This page writes out how we check and test brakes end to end.
If a brake will not release or will not hold, do not strip it first. Measure actual voltage at the brake terminals against the nameplate: burnt relay contacts in the supply circuit, undersized conductors or a weak supply module all cause drops that leave the brake half-open and running on friction. Beyond the allowed drop, fix the supply circuit, not the brake - this is the commonest unnecessary part swap we see.
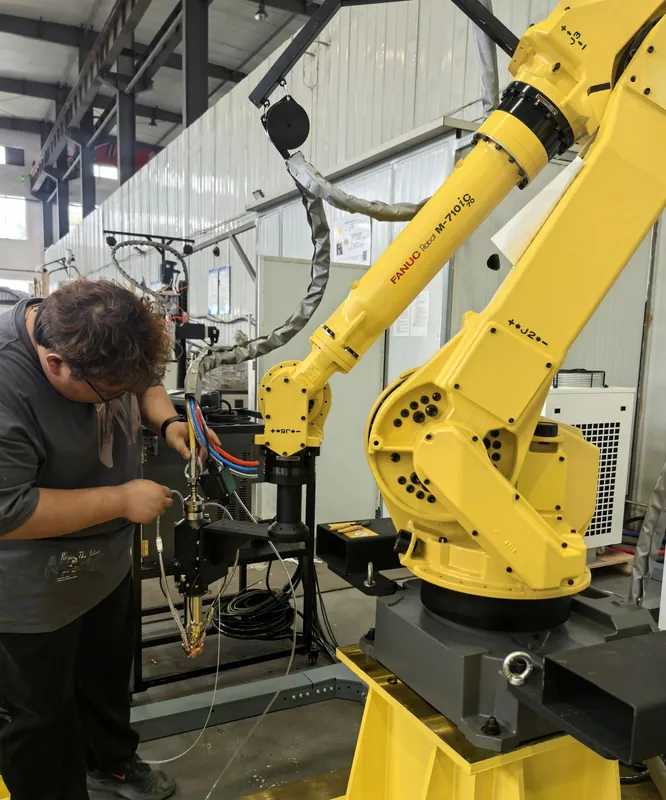
The lining thins with use, the gap grows and holding torque falls. We measure gap with feeler gauges and holding capability by torque method, against the factory figures for the model. Gap alone is not enough: a gap in tolerance with low torque usually means oil on the friction faces. Contamination collapses the friction coefficient, and adjusting the gap will not fix it - the lining needs cleaning or replacement.
A brake change without a test is not a brake change. Our standard: load the axis to 110% of rated (ballast or workpiece), drop power, hold for 10 minutes with a dial indicator on the axis; zero movement, or below the model's allowance, is a pass. Personnel cleared and an exclusion zone below during the test. The numbers go into the service record with the brake part number and date.
Slow axis creep after power-off, failure to hold under heavier load, abnormal rubbing noise or a burnt smell at brake actuation - any one means stop that axis, support it mechanically, and do not "run one more shift". A failed brake drops a vertical axis; there is no negotiating with that.